
The most effective way to expand disk space on your MacBook Air/Pro is to remove large files that you need no more. The files could be:
- Movies, music, documents that you don’t like anymore;
- Old photos and videos;
- Unneeded DMG files for installing the application.
It is easy to delete files, but the real problem is how to locate big files quickly on Mac. Now you can see the full tips about how to find and remove large files to free up hard drive space in macOS.
Method 1: Quickly Find and Remove Big Files on Mac/MacBook
Other than searching for large files manually in the Finder through different folders, many users prefer a much more intelligent solution – MobePas Mac Cleaner. This all-in-one Mac system cleaner is often used to clean up the MacBook Air or MacBook Pro to free up hard disk space. When it comes to removing large files, this Mac cleaner can speed up the process by:
- Scanning out different kinds of big files in one click, including application files, video, music, photos, documents, etc.;
- Using a combination of date, size, kind, and name to quickly locate target large files.
The big files feature is easy to use on the program. Click the download button below to get MobePas Mac Cleaner.
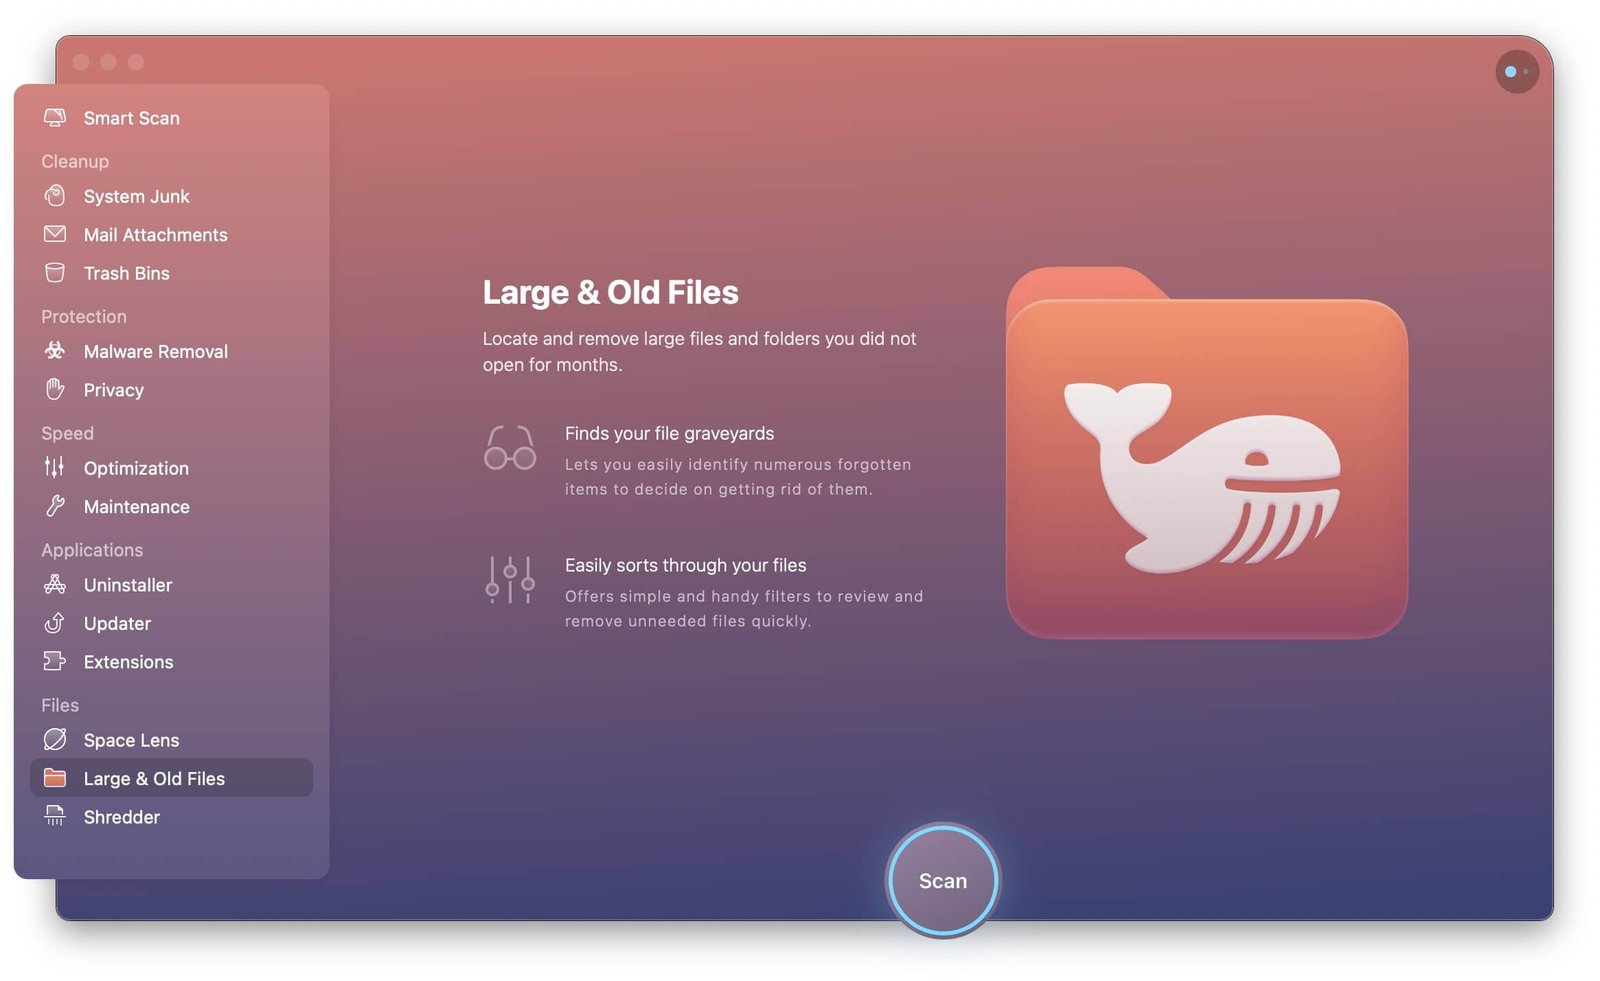
Step 1. Open Mac Cleaner on your MacBook. Choose “Large & Old Files” in the left column.
Step 2. Click Scan to detect the big files and old files. The scanning could take a while if your MacBook is crammed with files. You can tell how many files are left to be scanned by the completion percentage. You can then view the scanned results. To quickly find out the unused large files, you may use a combination of size and date, to arrange the files. For example, you can first click Sort By on the top right side to select the filters and click to further order the files by size.
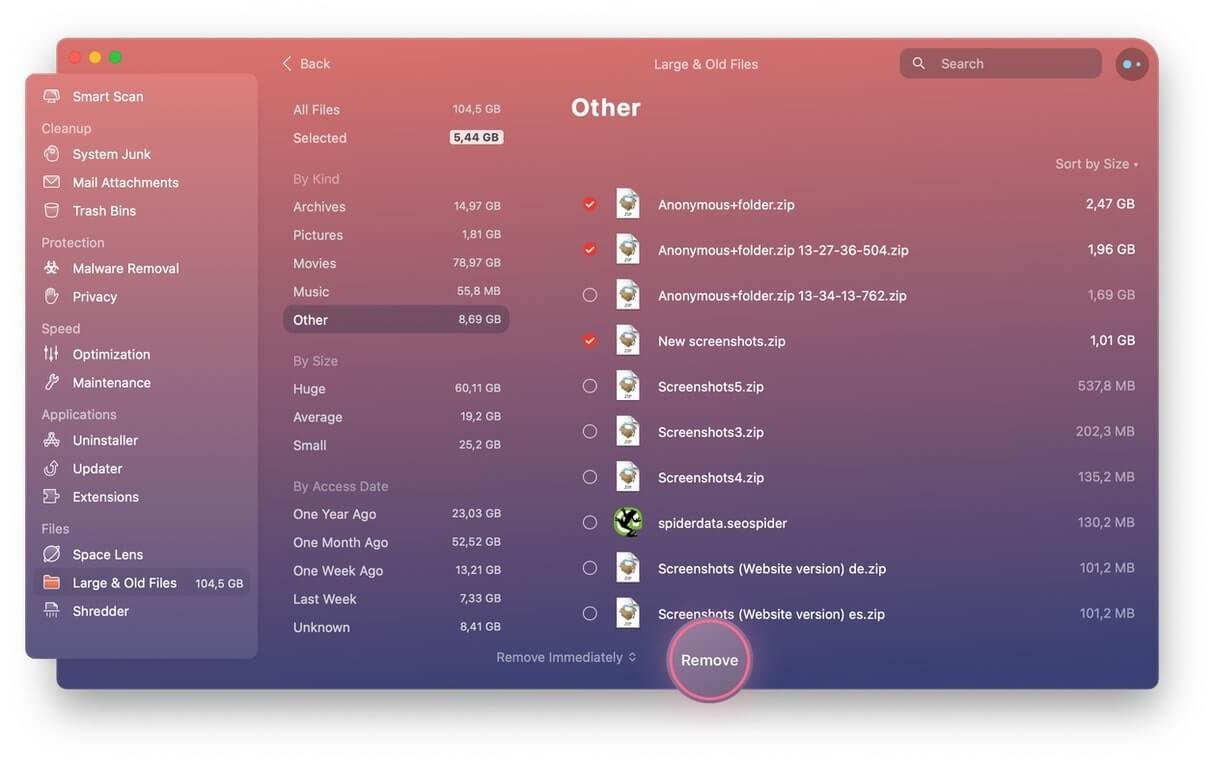
Step 3. Tick certain ones and get them cleaned. When those data are deleted, there is a note telling you how much storage is removed.
Note: You can freely choose “> 100 MB”, “5 MB to 100 MB”, “> 1 Year” and “> 30 Days” to check your large and old contents on iMac or MacBook.
In conclusion, by using MobePas Mac Cleaner, you can clean your MacBook more conveniently and effectively because the program can:
- Quickly identify the unneeded big files by organizing files by size, date, kind, and name;
- Locate file folders in one click.
With the program, you can also remove data that are hard to find manually, such as duplicate files, and system files.
Method 2: Find and Remove Large Files on Mac Manually
Another way to find large files on Mac is using Finder on a Mac. You can check the following steps to locate and delete large files on Mac:
Step 1. Open the Finder window on your Mac and enter a “*” (asterisk icon) in the search field in the top right corner, which would make sure all items are included.
Step 2. Click on the “+” icon below the search field.
Step 3. You’ll see there are filters that allow you to find items according to the settings you create. Now, you need to click on the drop-down menu of the first filter and choose “Other > File Size”, and hit OK. Then in the second filter, you should choose “is greater than”. In its adjacent text field, just enter the size you want to locate. After that, in the third filter, you can change it to MB or GB for the size.
In this way, you’re able to free up storage by finding and deleting large files on Mac.
Above is how to free up space on Mac by finding and deleting large files on the computer. If you don’t want to go all the way to clean up the big junk files in your MacBook manually, you can download MobePas Mac Cleaner and give it a whirl. And if you have any problem when following the steps, please drop a comment to let us know!