We know that SD cards are widely used in portable devices like digital cameras, PDAs, multimedia players, and others. Many people use Android phones that feel that the memory capacity is small, so we will add an SD card to expand the capacity so that we can store more data. Many Android users will store pictures on SD Card, but sometimes we accidentally delete some very important pictures, and we have not backed up to the cloud space, so how can we restore those deleted pictures on SD Card?
Many people don’t know that after we delete data, those erased data will still be stored on the phone. We can’t see the data based on the Android recycling mechanism, but we can restore them if the data is not overwritten, we need help with third-party software. Android Data Recovery program can help us to directly scan our Android device storage space or SD card to get deleted data back easily.
The Features of Android Data Recovery Software
- Recover a wide variety of data types on Android or SD Card like audios, videos, messages, photos, contacts, call history, Whatsapp, and more.
- Suitable for mistaken deletion, rooting, upgrading, memory card formatting, water damaged or Screen broken.
- Support any Android device like Samsung, LG, HTC, Huawei, Sony, OnePlus.
- One-click to backup and restore Android data.
- Repair Android system problems like black screen, recover stuck, extract data from broken Samsung phone or SD Card.
Free download, install and launch this Android data recovery tool and follow the steps below to recover deleted photos on SD Card.
How to Recover Deleted Pictures on SD Card
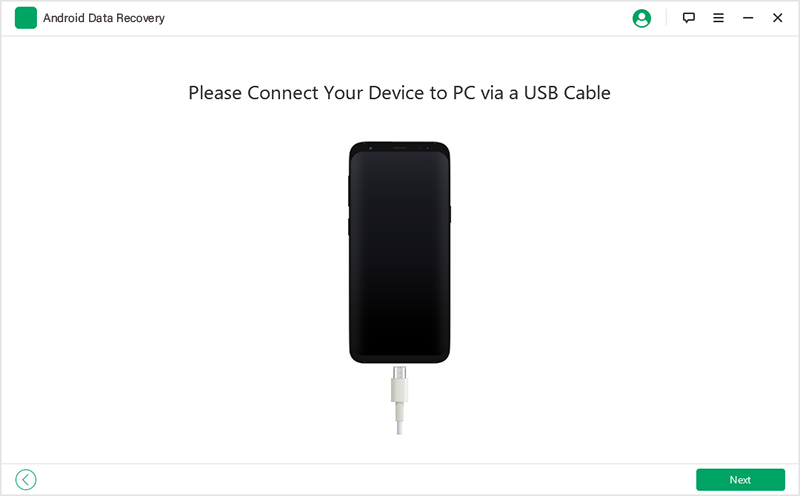
Step 1. Run the Android data recovery app on your computer and choose the mode of “Android Data Recovery”. Insert the SD Card to the Android phone and plug in your Android device to the same computer with a USB cable, you will see a pop-up on the Android phone, click “Trust”, then the software will detect your phone successfully.

Step 2. If you enable USB debugging before, you can skip this step, else you will see the below instruction to open USB debugging. For example, If your Android system is 4.2 or newer, you can Enter “Settings” < Click “About Phone” < Tap “Build number” several times until getting a note “You are under developer mode” < Back to “Settings” < Click “Developer options” < Check “USB debugging”.

Step 3. After you move to the next window, you will see many data types for you to choose from, tap “Gallery” or “Picture Library”, then click “Next” to go on.

Step 4. In order to get the privilege to scan more deleted photos, you need to click “Allow/Grant/Authorize” on your device and make sure the request has been remembered forever. If there is no such pop-up window on your device, please click “Retry” to try again. After that, the software will analyze and root the phone to scan deleted pictures.
Step 5. Wait for some time, the scan process will be completed, you will see all photos displayed in the scan result on the right side of the software, you can click “Only display the deleted item(s)” to view the deleted images that are deleted automatically, then mark the pictures you need to get back and click “Recover” button, choose a folder to save the deleted photos.


